Achieving Optimal Attic Insulation: A Step-by-Step Guide
Want to reduce your monthly energy bills and maintain a comfortable home in any season? If you answer yes, it’s time to consider your attic insulation. The proper insulation can save money, satisfy you, and protect your home from damage. This article will give you a step-by-step guide to achieving optimal attic insulation.
Why Attic Insulation is Important
The attic is one of a house’s most significant heat gain and loss areas. During the summer, heat from the sun can penetrate your roof and warm up your attic to temperatures exceeding 150°F. Without proper insulation, that heat radiates into your living spaces, making your air conditioning work harder to keep your home cool. Similarly, warm air rises to your attic during the winter and escapes through your roof, creating a cold draft in your living spaces. Insulation helps slow heat transfer and make your living spaces more comfortable year-round.
Step-by-step guide for optimal attic insulation!
Step 1: Evaluate Your Current Insulation
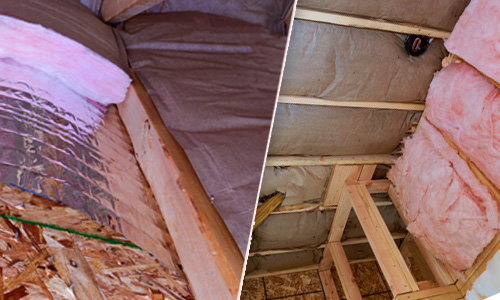
The first step in achieving optimal attic insulation is to evaluate your current insulation. You need to know what you’re working with before you can improve. Start by checking the condition and measuring the thickness of your insulation.
Step 2: Choose the Right Type of Insulation
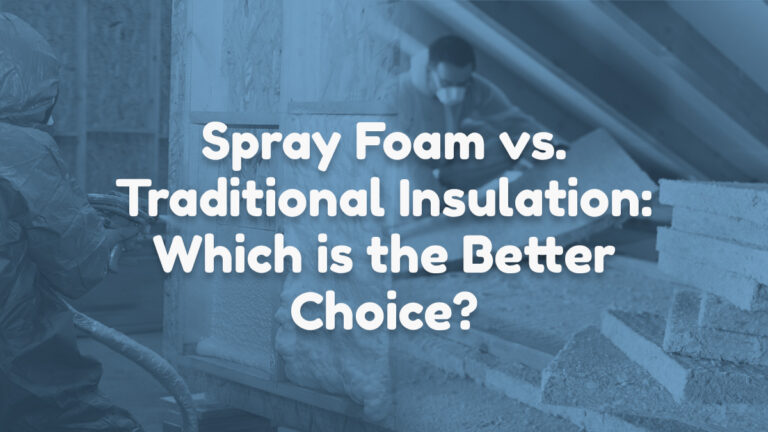
The type of insulation you choose will depend on several factors, including your climate, the size and shape of your attic, and your budget. Fiberglass, cellulose, and spray foam are the most commonly used insulation types.
Step 3: Seal Air Leaks
Before installing new insulation, seal any air leaks in your attic. Air leaks can occur around windows, doors, plumbing vents, and through cracks and gaps in the attic floor and walls. Use caulk and weatherstripping to seal these leaks and prevent heat loss.
Step 4: Install New Insulation
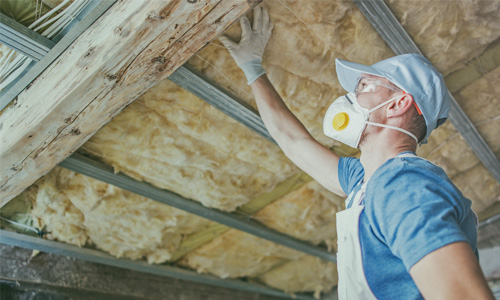
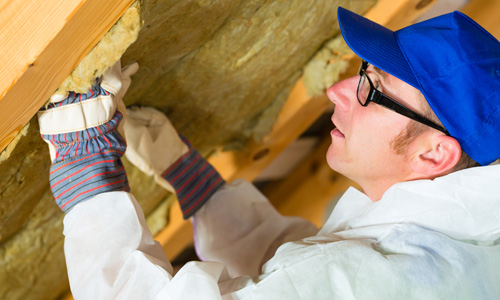
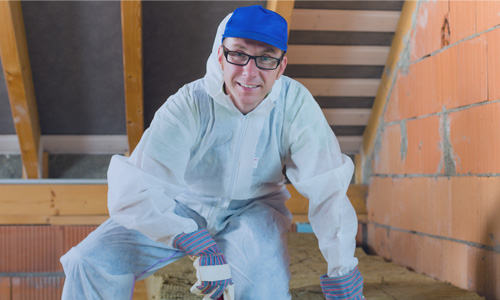
Once you’ve evaluated your current insulation, chosen the correct type of insulation, and sealed air leaks, it’s time to install new insulation. If you need experience in this type of work, hiring a professional is best because it can be messy and time-consuming. If you install insulation, wear protective clothing, including gloves, a mask, and goggles.
Step 5: Maintain Your Insulation
Maintaining your insulation is just as important as installing it. Over time, insulation can settle, become compacted, or even be disturbed by animals.
Types of Attic Insulation
Several types of insulation are available, each with its benefits and drawbacks. The three most common types of insulation are fiberglass, cellulose, and spray foam.
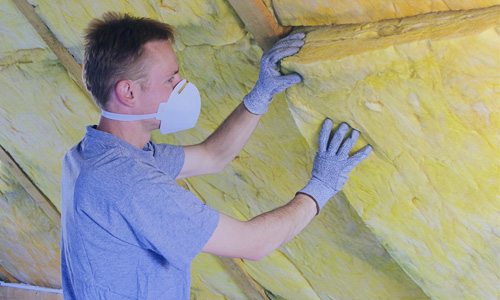
1. Fiberglass insulation
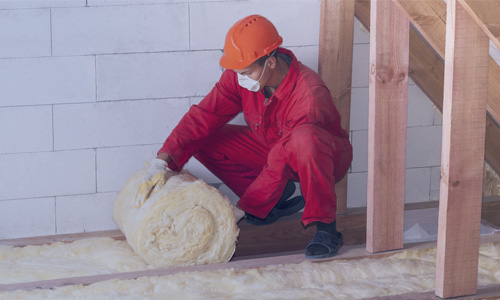
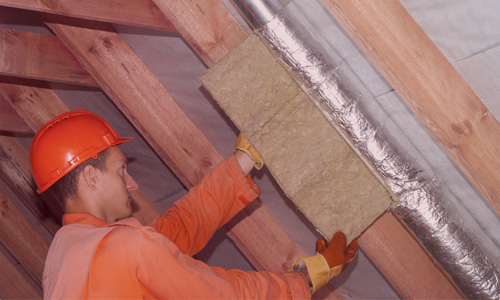
Among insulation types, fiberglass is the most frequently used. It’s inexpensive, easy to install, and available in rolls or batts. It’s made of tiny glass fibers that trap air, creating an insulating barrier. However, fiberglass can be itchy and release small particles into the air, which can be harmful if inhaled.
2. Cellulose insulation
Manufacturers treat recycled paper products, such as newsprint and cardboard, with fire-retardant chemicals to make cellulose insulation. It’s a popular choice for those looking for an eco-friendly option. It’s blown into the attic using a machine, filling every nook and cranny. However, cellulose can settle over time, reducing its insulating properties.
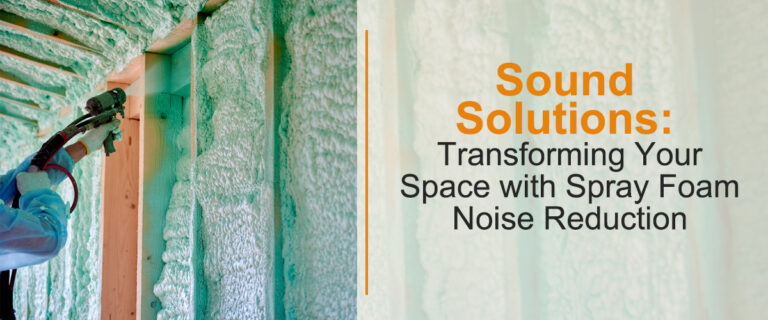
3. Spray foam insulation
Spray foam insulation is the most expensive but also the most efficient. It’s sprayed directly onto the attic floor or roof deck, creating an air-tight seal. It expands as it’s spread, filling every gap and aperture and creating a barrier against air and moisture infiltration. It’s also the most effective at soundproofing and reducing the transfer of allergens.
How to Install Attic Insulation Yourself
If you’re a DIY enthusiast, installing insulation in your attic can be straightforward. However, before you begin, taking the necessary safety precautions is crucial. Wear long-sleeved clothing, gloves, and a mask to protect yourself from the insulation’s fibers. You should also have a sturdy ladder and good lighting.
- Measure your attic’s square footage to determine how much insulation you’ll need. The US Department of Energy recommends a minimum of R-38 for most attics, or about 10-14 inches of insulation.
- Purchase the type of insulation you’ve chosen and any necessary tools, such as a utility knife or insulation support rods.
- Lay down plywood or boards to create a path around your attic without stepping on the insulation.
- Install insulation baffles around your vents to allow proper airflow and prevent insulation from blocking them.
- Begin laying the insulation perpendicular to the joists, starting at the farthest corner and working your way back to the attic’s entrance.
- Use a utility knife to cut the insulation to fit around vents, pipes, and other obstacles.
- Use insulation support rods to keep insulation from falling below the joists.
- Once you’ve covered the entire attic, ensure that vents and exhaust fans remain unobstructed.
Hiring a Professional Attic Insulation Installer
While installing attic insulation yourself can save money, there are better options than installing attic insulation yourself. If you need help determining what type of insulation to use, how much to install, or how to navigate the attic’s layout, it’s best to hire a professional insulation installer. A professional installer can assess your home’s insulation needs and recommend the best type for your home’s design and budget. They also have the necessary equipment and safety gear to ensure a safe and efficient installation.
When hiring an insulation installer, look for a company with a good reputation, experience in attic insulation installation, and proper licensing and insurance. The installer should provide you with a detailed estimate, including the type and amount of insulation, the cost of labor, and any additional expenses, such as removing old insulation or sealing air leaks.
Maintaining Your Attic Insulation
Maintaining your attic insulation is crucial for ensuring it continues performing at its best once installed. Therefore, inspecting your insulation regularly for signs of damage, such as water damage or pest infestation, is important. In addition, it’s essential to check for air leaks around vents, chimneys, and other openings and seal them with caulk or weatherstripping to maximize your insulation’s effectiveness.
Keep your attic well-ventilated to prevent moisture buildup, which can reduce insulation effectiveness and lead to mold growth. Use attic fans or vents to ensure proper airflow.
To enhance the performance of your attic insulation, you may also want to consider incorporating a radiant barrier. This thin layer of reflective material reflects the sun’s rays out of your attic and reduces heat transfer. It’s easy to install on top of your current insulation and particularly effective in warm, sunny areas.
Attic Insulation: Your Path to Comfort
In the end, Attic insulation is essential to your home’s comfort and energy efficiency. Installing proper insulation can reduce your energy bills, increase your home’s comfort, and reduce your environmental impact. Whether you install insulation yourself or hire a professional installer, please choose the right type for your home’s design and budget, and maintain it regularly to ensure optimal performance. With these steps, you’ll be on your way to achieving optimal attic insulation and a more comfortable home.