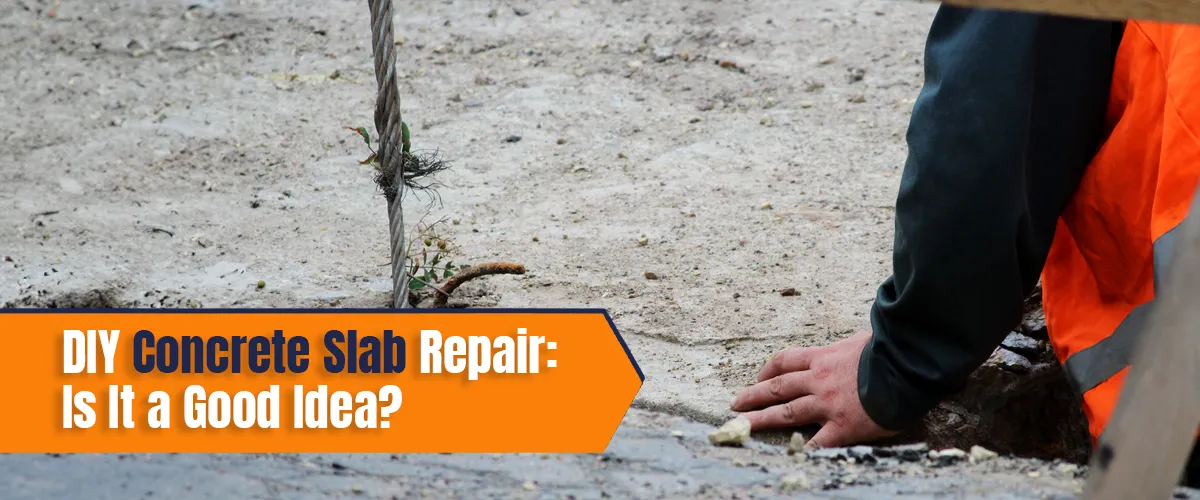
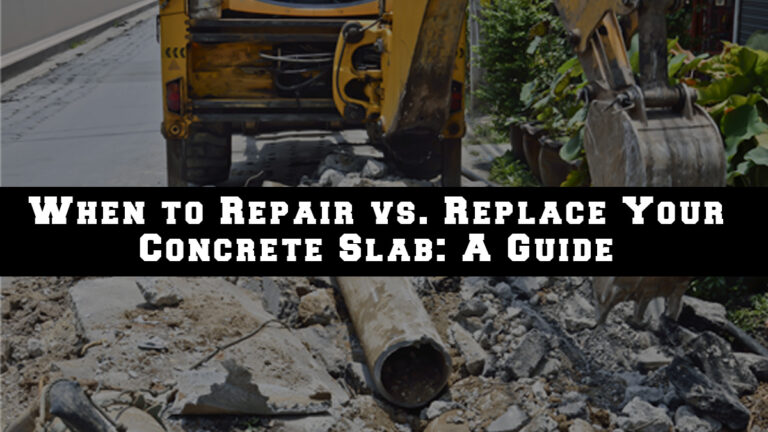
DIY Concrete Slab Repair: Is It a Good Idea?
Surveying your concrete slab, do you ponder whether those cracks signify more than just superficial blemishes? Don’t worry, you’re not alone. The battle scars of time and wear often manifest as cracks and damage on even the sturdiest concrete surfaces. However, momentarily pause before diving headfirst into a DIY definite slab repair endeavor. Is going the DIY route a savvy solution or a potential disaster?
Meanwhile, in this deep dive, we’ll dissect the DIY concrete slab repair world, separating the myths from the reality. From the perks of rolling up your sleeves to the pitfalls you might not have considered, let’s embark on a journey to uncover the truth behind the fix.
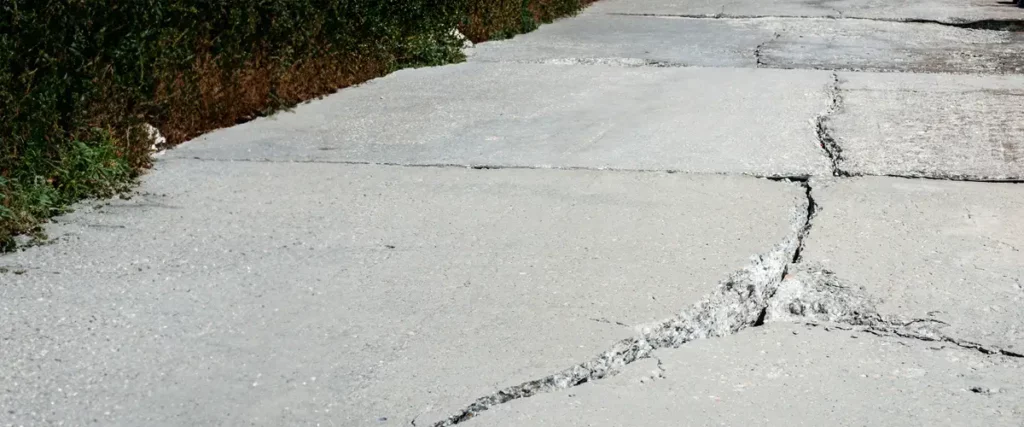
Advantages of DIY Concrete Slab Repair
When cracks mar the perfection of your concrete slab, a DIY repair might be your answer. Let’s delve into the benefits of taking matters into your own hands:
A. Cost-Effectiveness
One of the significant perks of DIY repairs is the potential cost savings. You can dodge hefty labor charges and allocate your budget to quality materials. Plus, the satisfaction of stretching your dollars adds an extra layer of accomplishment.
B. Independence and Flexibility in Scheduling
When you’re the boss of your repair timeline, you can kiss scheduling conflicts goodbye. There is no need to wait for a crew to arrive; you decide when the work begins. It’s your concrete, your clock.
C. Satisfaction with Completing a Project on Your Own
There’s something undeniably gratifying about stepping back and admiring a repair job you tackled single-handedly. DIY repairs offer a sense of achievement that no contractor can replicate.
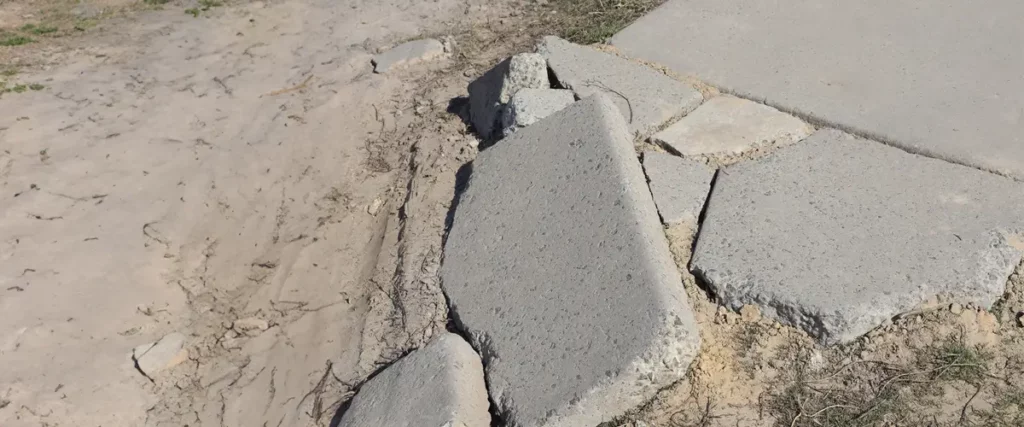
Disadvantages of DIY Concrete Slab Repair
As tempting as it might be to don your DIY hat and tackle that concrete repair, there are crucial factors to consider before you leap into action. Although DIY projects offer a feeling of achievement, it’s vital to acknowledge the potential drawbacks that accompany them. Let’s dive into the disadvantages of DIY concrete slab repair:
A. Lack of Expertise
Let’s face it – concrete repair isn’t as easy as slapping on a band-aid. Lack of experience might lead to subpar fixes that barely scratch the surface of the issue.
B. Potential for Inadequate Repairs
Appropriately assessing the damage or using suitable materials can result in short-lived repairs. Your concrete might start showing cracks again sooner than you think.
C. Safety Risks Involved in Handling Concrete
Concrete work involves heavy lifting and exposure to potentially harmful chemicals. Without the proper protective gear and precautions, you could risk your health.
Factors to Consider Before Attempting DIY Concrete Slab Repair
Embarking on a DIY concrete slab repair journey can be exciting and daunting. Before you roll up your sleeves and grab that trowel, take a moment to ponder a few essential factors below:
A. Complexity of the Repair Task
Before you jump into a DIY repair, evaluate the complexity of the task. Minor cracks might be manageable, but extensive damage might require professional intervention.
B. Size and Extent of the Damage
The cracks’ size and the damage’s extent are pivotal in determining whether a DIY repair is feasible. Indeed, extensive damage might call for specialized skills.
C. Access to Necessary Tools and Equipment
Repairing concrete demands specific tools and materials. Ensure you have access to everything you need before you begin, saving you frustrating trips to the hardware store mid-project.
D. Time Availability and Commitment Required
Concrete repair is a challenging job. It demands time, patience, and dedication. Ensure you’re ready to commit before you dive in.

Steps Involved in DIY Concrete Slab Repair
Are you embarking on a DIY concrete slab repair? Though it may seem complex, breaking the process into clear steps will make it more manageable and less intimidating. Follow these essential stages for a DIY concrete slab repair to achieve a successful outcome:
A. Assessing the Damage and Planning the Repair
To begin with, evaluate the extent of the damage. From there, devise a plan to make sure your repair efforts are focused and effective.
B. Gathering Necessary Materials and Tools
Secondly, assemble all required materials, ranging from the concrete mix to safety equipment. Remember, proper preparation is critical to a smooth process.
C. Preparing the Damaged Area
Moving forward, meticulously clean the damaged area and ensure it’s debris-free. Likewise, remember that thorough preparation is crucial for a successful repair.
D. Applying Concrete Mix or Patching Compound
Once prepared, follow the instructions for your chosen repair material carefully. Apply the mix evenly to the damaged area for a seamless result.
E. Leveling and Finishing the Repair
After applying, smooth out the repaired area to blend with the surrounding concrete. Also, remember that attention to detail can yield a more professional appearance.
F. Curing and Protecting the Repaired Slab
Lastly, let the repair cure according to the manufacturer’s recommendations. Additionally, applying a sealant can help protect against future damage and ensure long-lasting results.

Tips for Successful DIY Concrete Slab Repair
Navigating the realm of DIY concrete slab repair can be smoother than you think, especially with a handful of expert tips up your sleeve. These insights below will boost your confidence and elevate the quality of your repair work:
A. Researching and Understanding the Repair Process
Refrain from diving in unquestioningly. Thus, research the repair process thoroughly to gain a solid understanding before you begin.
B. Taking Necessary Safety Precautions
Concrete work can be hazardous. Gear up with gloves, safety glasses, and a mask to protect yourself from potential harm. Moreover, considering the importance of safety, these precautions are non-negotiable.
C. Seeking Guidance from Professionals, If Needed
You can seek professional advice if you need more certainty about any step. On occasion, professional guidance can create a significant impact. Additionally, professional expertise can offer invaluable insights.
D. Regular Maintenance to Prevent Future Damage
Maintain your repaired concrete slab to prevent new issues from cropping up. By doing so, regular inspections can catch problems early on. Consequently, proactive maintenance will extend the longevity of the repair.

When to Hire Professional Concrete Slab Repair Services?
While the allure of DIY concrete slab repair is strong, there are instances when expertise outweighs enthusiasm. Recognizing the right time to enlist professional help can prevent potential mishaps and guarantee a durable and flawless repair. Here are some of the scenarios that signal it’s time to hand the reins to the experts:
A. Complex or Extensive Damage
Firstly, if the damage is significant or the repair appears complex, it’s best to trust professionals possessing the necessary skills and knowledge.
B. Lack of Time or Availability
Meanwhile, life can often be busy and unpredictable. If time constraints pin you down, feel free to summon professionals who can do the job efficiently.
C. Lack of Experience and Expertise
Subsequently, leave the task to the professionals if you need to familiarize yourself with concrete work or if the situation demands more expertise, safety, and practicality.
D. Safety Concerns or Risks Involved
Lastly, concrete work inherently carries certain safety risks. If these risks prove too challenging to handle independently, prioritize your safety by seeking professional help.
DIY or Expert: Your Call!
As you stand at the crossroads of DIY concrete slab repair in Kansas, armed with insights into the advantages, disadvantages, and crucial factors, remember that your decision shapes the future of your concrete. Whether you’re a seasoned DIY enthusiast or a repair novice, the key lies in making an informed choice. So, will you wield the tools and take the plunge, or will you entrust your concrete fate to professionals? The cracks may hold the past, but your decision can determine your slab’s future integrity.
